Customizing the frontend
Learn how to style and customize the booking widget.
This guide assumes that a booking widget is already present in one of your posts or pages.
Access the Customizer
To access the TheBooking section of the WordPress Customizer, you have two options:
- From the WordPress side menu, navigate to Appearance > Customize. Once in the Customizer interface, locate and select TheBooking from the available options.
- Alternatively, within the TheBooking dashboard, go to Settings > Style. Here, you will find a Customize button. Clicking on this button will transfer you to the Customizer interface, with TheBooking settings already selected.
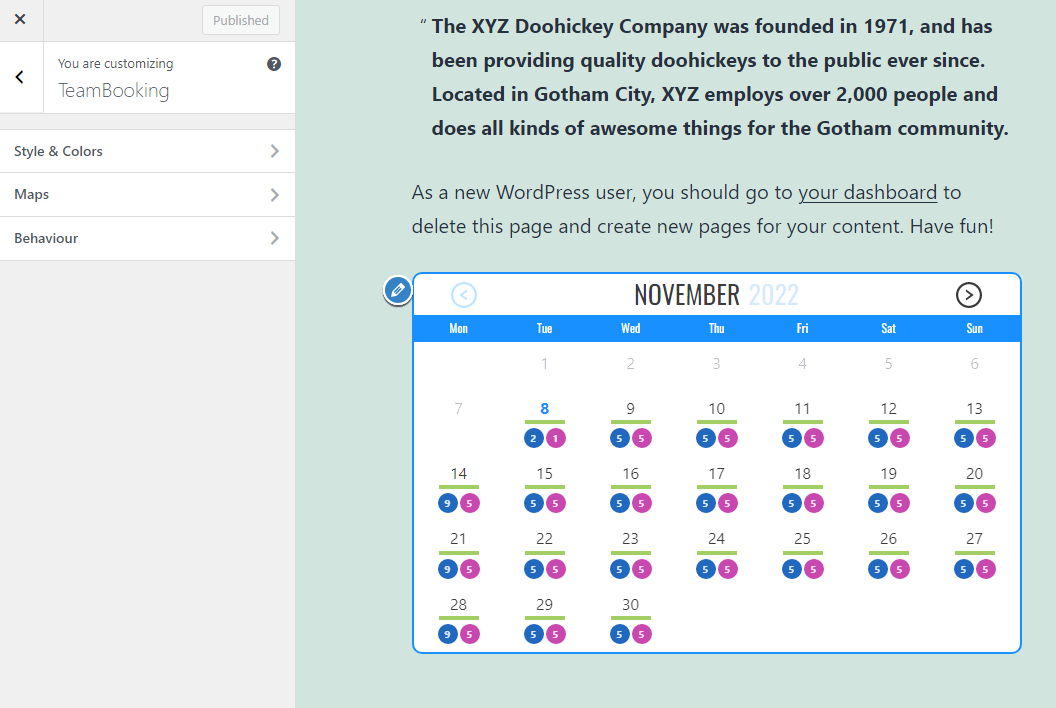
Once you are in the Customizer, you will notice the right section of the screen displaying a live preview of your website. To see the changes take effect, navigate to a page or post where you have added the TeamBooking frontend widget. This will provide you with a real-time preview of the modifications you make within the Customizer.
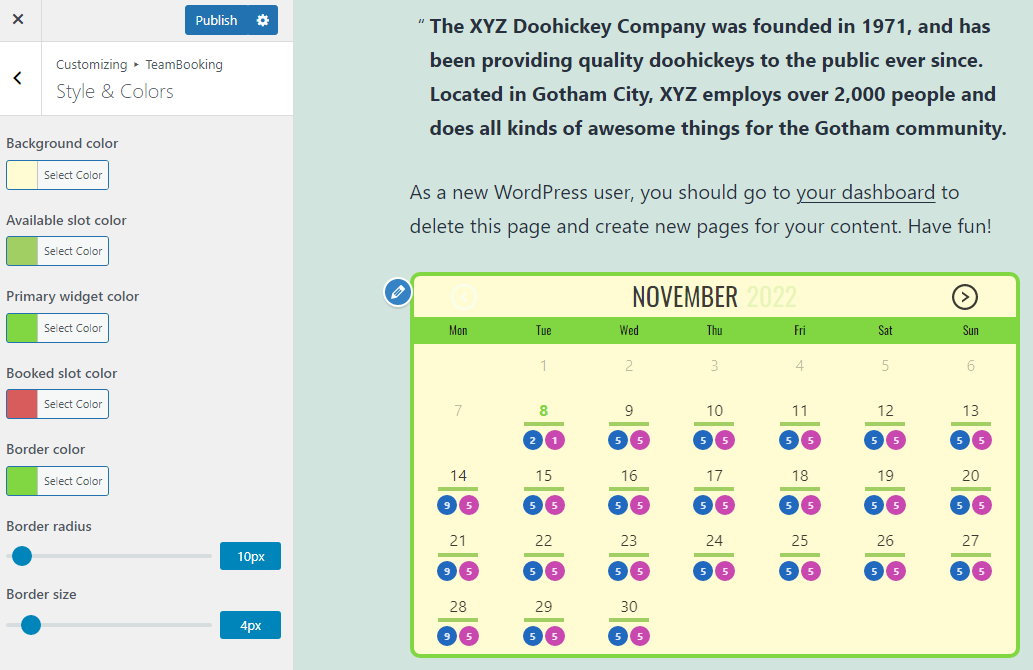
Style and Colors
In the Style & Colors tab, you have the ability to personalize the appearance of the frontend widget by modifying colors, borders, and backgrounds.
As you make adjustments to these settings, the right panel of the Customizer will dynamically update to reflect the changes in real-time. This allows you to instantly visualize how your modifications impact the look and feel of the widget.
To ensure that your customizations are saved, remember to click on the Publish button. This will apply and store your changes, making them visible on your website.
TheBooking includes an intelligent feature that automatically adjusts the foreground text color based on the selected background color. This adaptive functionality ensures optimal contrast for improved readability and visual aesthetics.
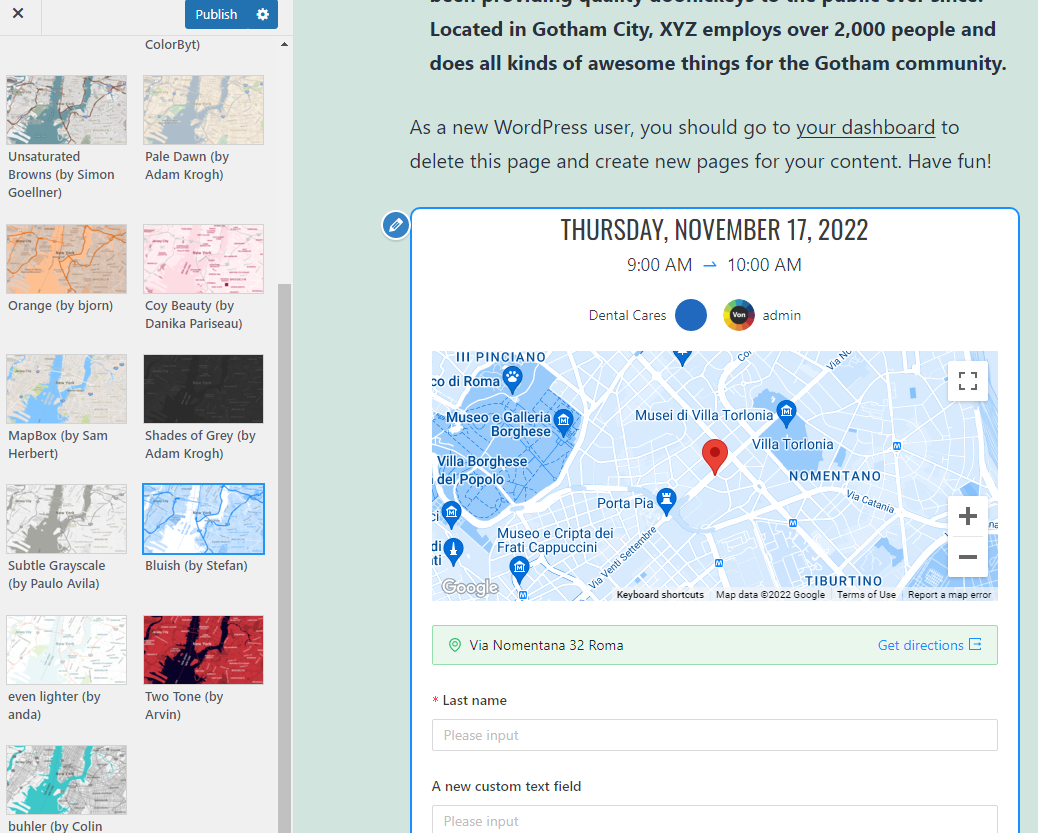
Maps
Within the Maps section, you have the ability to customize the zoom level and style of the Google Maps integration, if applicable.
Read the integration guide of Google Maps.
By adjusting the zoom level, you can control the initial level of magnification for the displayed map. This allows you to tailor the map's appearance to suit your specific needs and preferences.
Additionally, you can customize the style of the map to align with your website's overall design and branding. This customization option enables you to choose a map style that complements the visual aesthetics of your site.
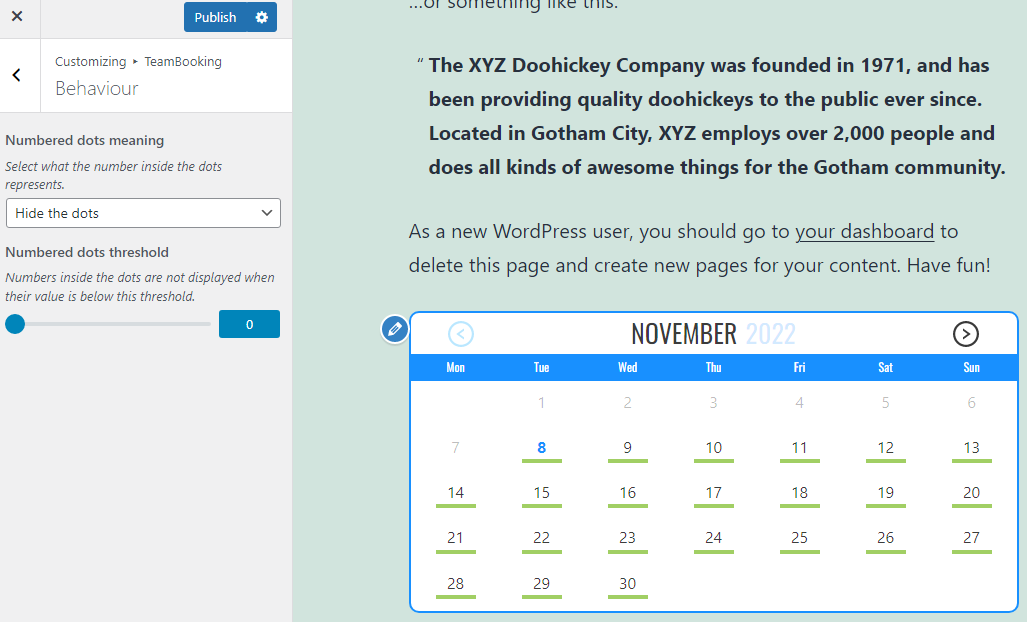
Behaviour
Within the Behavior panel, you have the ability to customize the behavior of the calendar preview dots.
By default, these dots display the number of available slots per service, providing a quick overview of the availability for each service. However, you have the flexibility to further personalize this display.
You can choose to hide the dots entirely if you prefer a more streamlined appearance without the visual indicators. Alternatively, you can opt to show the service name instead of the numerical count, which can provide a clearer representation of the services offered.
This customization option allows you to fine-tune the behavior of the calendar preview dots to best align with your preferences and the overall design of your website.