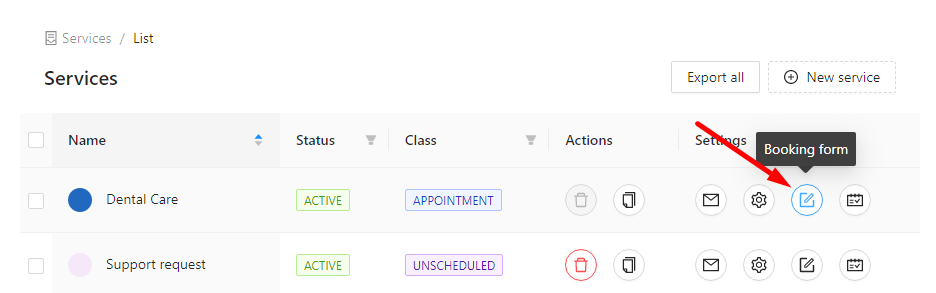
Booking form
When you create a service, the reservation form initially includes the fields for Name, Email, and Phone, as these are the default data required from the customer during the reservation process.
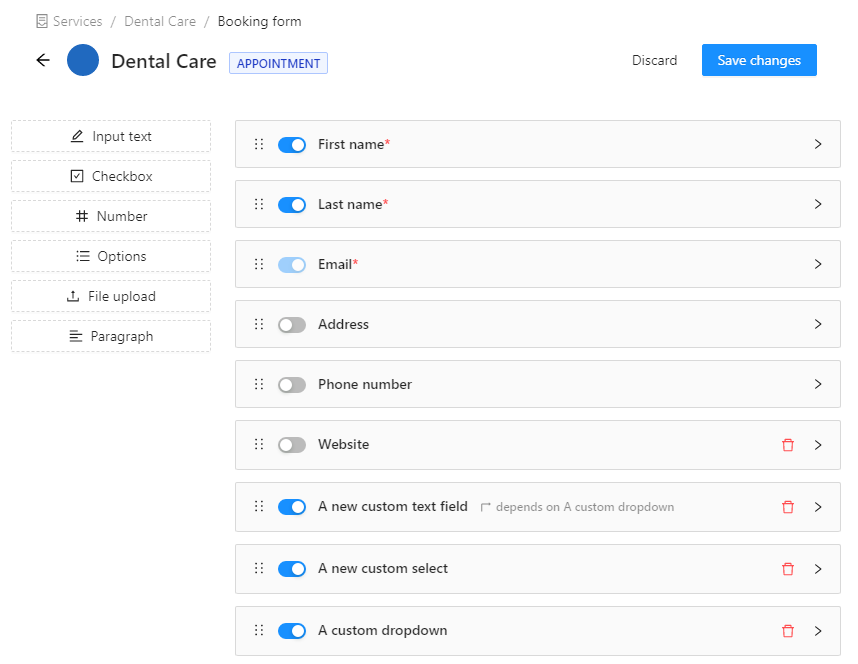
However, the service booking form is highly flexible and customizable, thanks to a powerful form builder. This allows you to tailor the form according to your specific requirements and gather additional information from customers during the reservation process.
Adding a new field
To add a new field to the form, simply click on any label located on the left side of the form builder. This will allow you to add the corresponding form field to the reservation form.
Currently, the following field types are available for you to choose from:
- Input text: Allows customers to enter text information.
- Checkbox: Provides a checkbox option for customers to select.
- Number: Enables customers to enter numeric values.
- Options (dropdown): Presents a dropdown menu for customers to choose from a list of options.
- File upload: Allows customers to upload files or documents.
- Paragraph (informative text, no input): Displays informative text without requiring any input from customers.
Adding a validation rule to a text field
To add a validation rule to a specific text field, follow these steps:
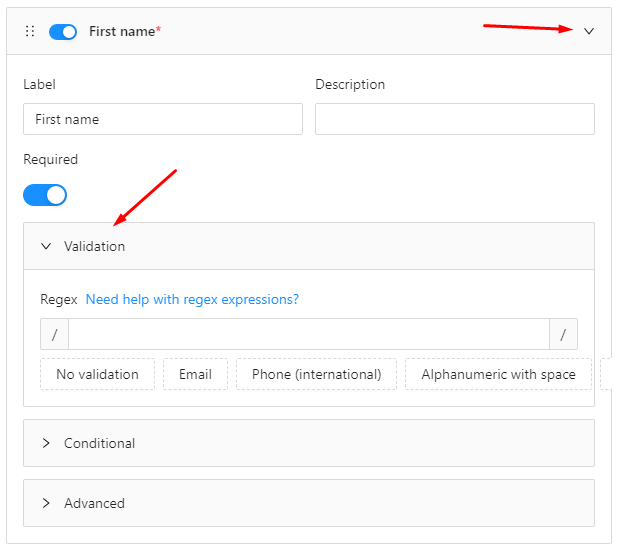
- Expand the properties of the form field by clicking on the caret icon located to the right of the field.
- Within the expanded properties, locate and expand the Validation section.
- In the Regex field, you can either select one of the pre-defined common Regex validation expressions using the provided buttons or enter a custom Regex expression of your own.
A validation rule is typically defined using a Regex expression, which allows you to specify a pattern for the expected input. If the data provided by the customer does not match the specified pattern, the booking form will display an error below the field.
Please note that if the field is not marked as required, an empty value will always pass the validation, regardless of the validation rule.
Adding a conditional rule
To control the dynamic behavior of a form field, you can add a conditional rule that determines when the field should be shown or hidden based on the value of another field. This allows you to create more interactive and personalized booking forms.
By utilizing conditional rules, you can create dynamic and adaptive booking forms that adjust their display and requirements based on the user's selections or input. This enhances the flexibility and usability of the form, providing a more tailored experience for your customers.
To set a conditional rule, you need to have at least one field in the booking form that can drive the conditional behavior. The fields capable of driving conditional rules are:
- Options (dropdown)
- Checkbox
- Number
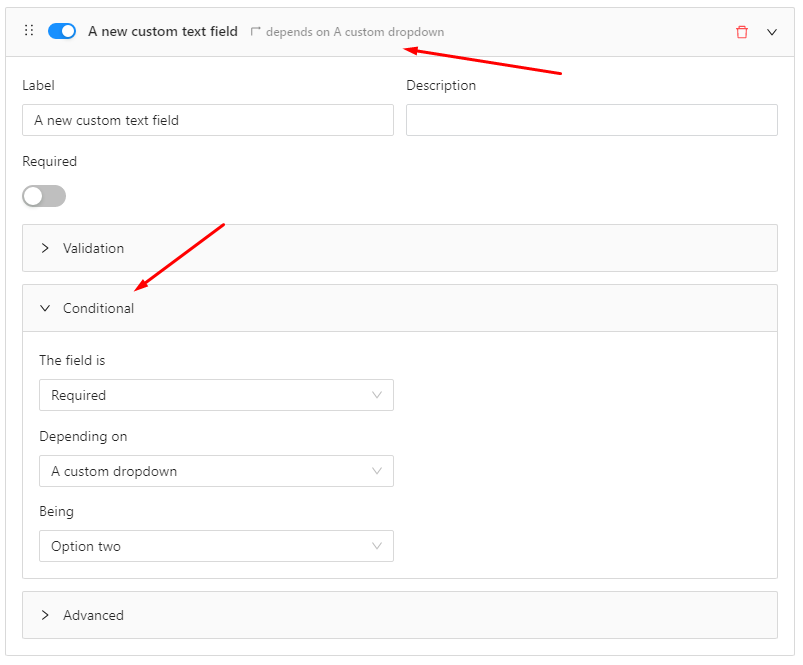
Any other field in the form can depend on the values of these fields. Within the Conditional section of a form field's properties, you can configure the following:
- Status: Specify whether the field should be visible, hidden, required, or not required based on the condition.
- Control Field: Select one of the above-mentioned fields that will determine the condition for the field's behavior.
- Value: Set the value of the control field that will trigger the specified status for the dependent field.
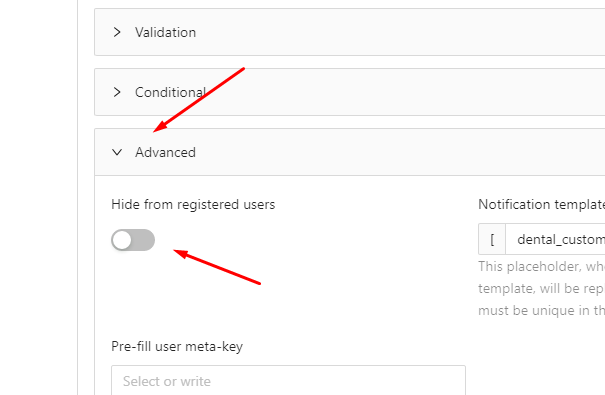
Hiding a field from registered users
If you want to hide a specific form field and make it available only to guest users (i.e., users who are not registered or logged in), you can easily achieve this by enabling a setting in the Advanced section of the form field settings panel.
By turning on this setting, the field will be hidden from registered users, ensuring that it is only visible to guest users during the reservation process. This can be useful if you want to collect certain information specifically from guests or provide a different experience for registered and guest users.
Deactivating a form field
In certain situations, you may find it necessary to deactivate specific form fields. This could be due to various reasons, such as not requiring a built-in field like the phone field or temporarily disabling a field.
The active state of a form field can be controlled through the switch located in the form field header. By toggling the switch, you can easily activate or deactivate the field as needed.
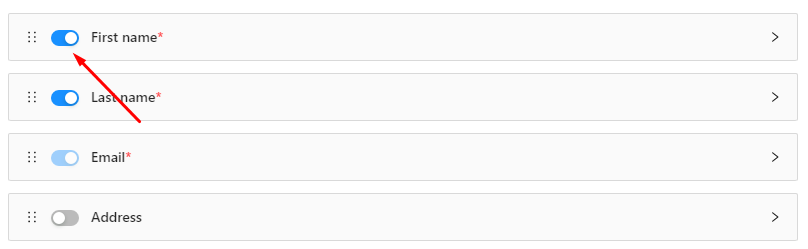
Please note that the Email field is always active and cannot be deactivated, as it is a fundamental part of the reservation process for communication purposes.