Booking workflow
The monthly booking widget gives customers a guided path from choosing a date to confirming an appointment.
A typical booking works like this:
- The customer selects a date.
- The widget shows the services available on that date.
- If the service uses providers, the customer either chooses one or TheBooking assigns one automatically.
- The customer selects an available time.
- The booking form collects the required details.
- If payments or promotions are enabled, the customer reviews the price before confirming.
- The reservation is created and the configured notifications are sent.
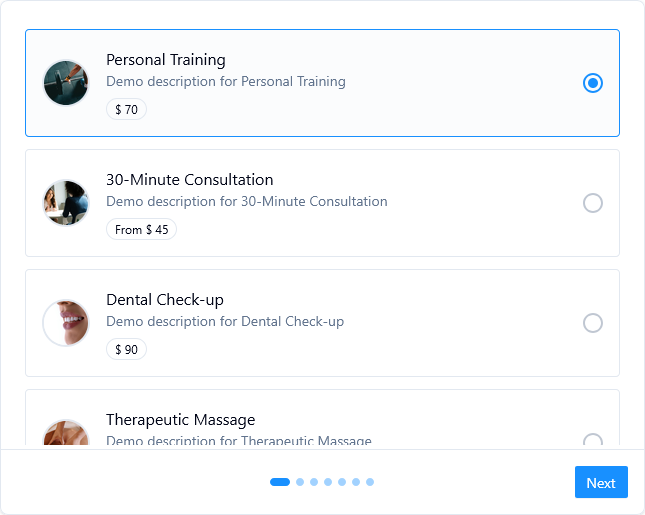
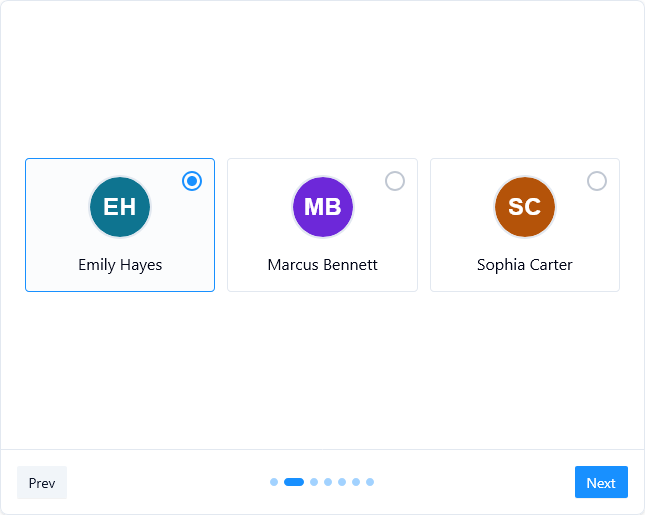
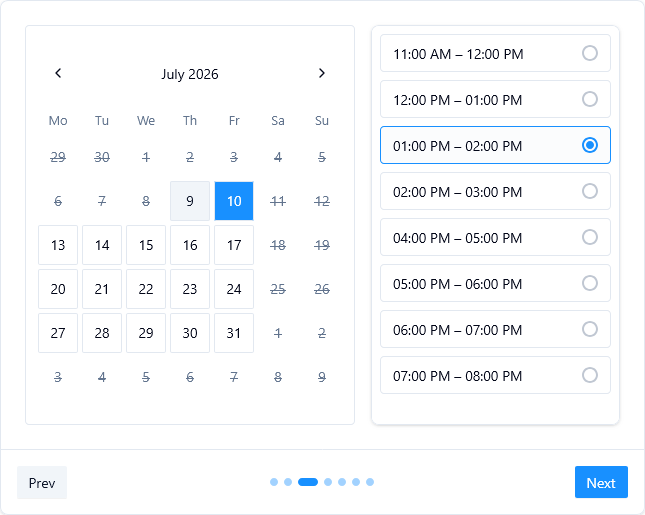
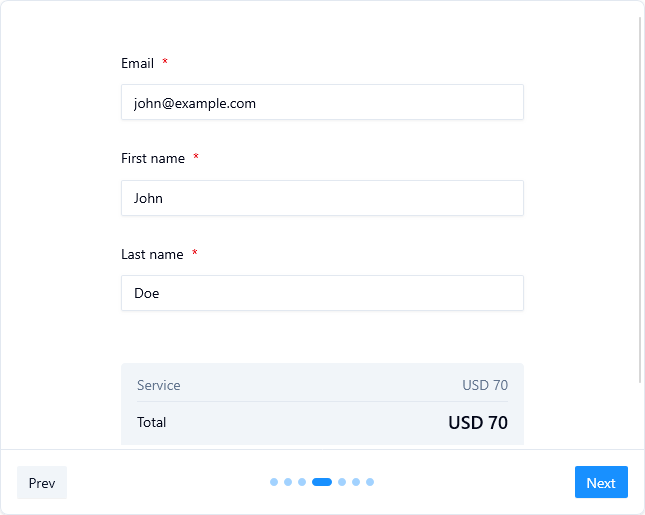
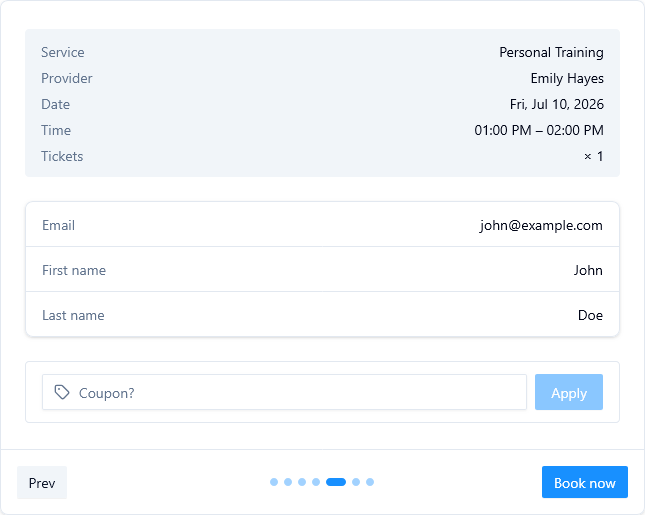
TheBooking checks availability again when the customer confirms. This keeps the calendar reliable if another customer books the same time, a provider becomes unavailable, or a connected calendar changes while the customer is still on the page.
Services, providers, and capacity
The same customer flow can support simple and advanced setups.
- A solo business can show one service and one calendar.
- A team can let customers choose a provider.
- A busy service can show one team slot and let TheBooking assign an available provider.
- A class or group appointment can accept more than one seat in the same time slot.
The customer still books one appointment time. The service settings decide how many places are available and whether the provider is chosen manually or automatically.
What happens after confirmation
The reservation starts with the status configured by the service:
- Confirmed when no approval or immediate payment is required.
- Pending when an administrator must approve the booking.
- Pending while the customer completes a required online payment.
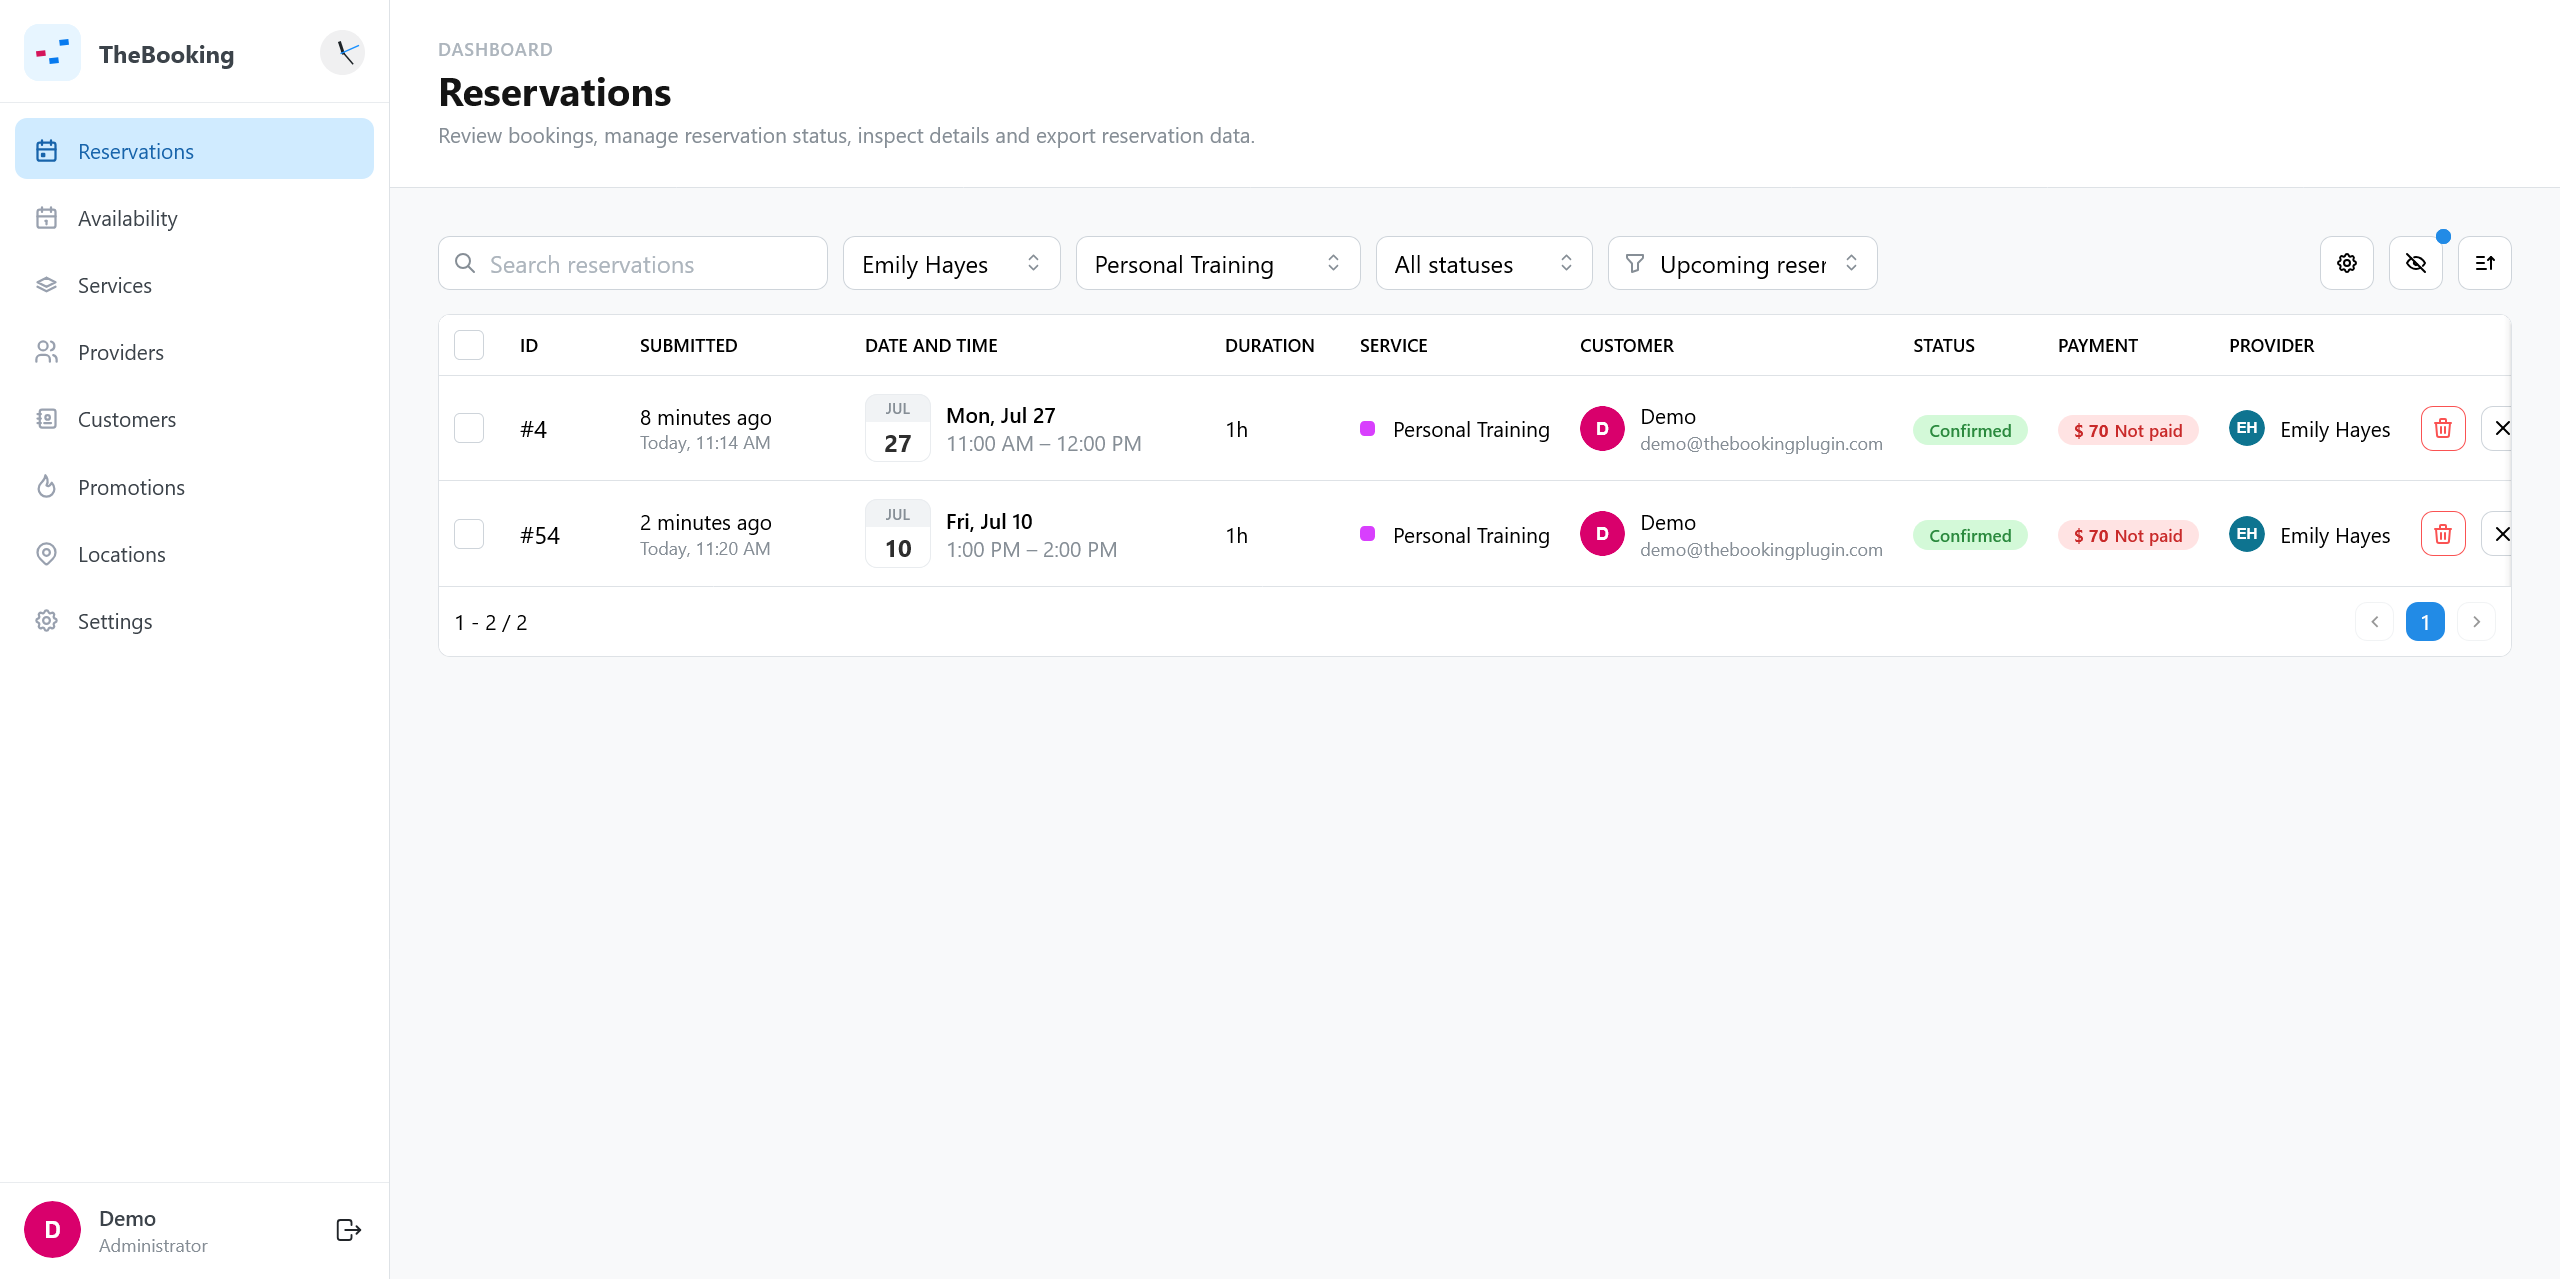
From that point, TheBooking can send emails, create calendar events, create meeting links, write reservation history, and notify external systems through webhooks.
Before publishing
Make at least one test booking as a customer. Check the calendar page, the confirmation email, the reservation status in WordPress, and any connected payment or calendar integration.