Install and activate
Install TheBooking like any other premium WordPress plugin, then complete a short setup checklist before publishing your first calendar.
Requirements
- WordPress 6.3 or later.
- PHP 8.1 or later.
- HTTPS on production sites, especially for payments and integrations.
- An active TheBooking subscription for updates and connected services.
Install the plugin
- Download
team-booking.zipfrom your TheBooking account. - In WordPress, open Plugins > Add New Plugin > Upload Plugin.
- Upload the ZIP file, install it, and activate the plugin.
- Open TheBooking > Settings > Core > License.
- Enter the license code and activate this site.
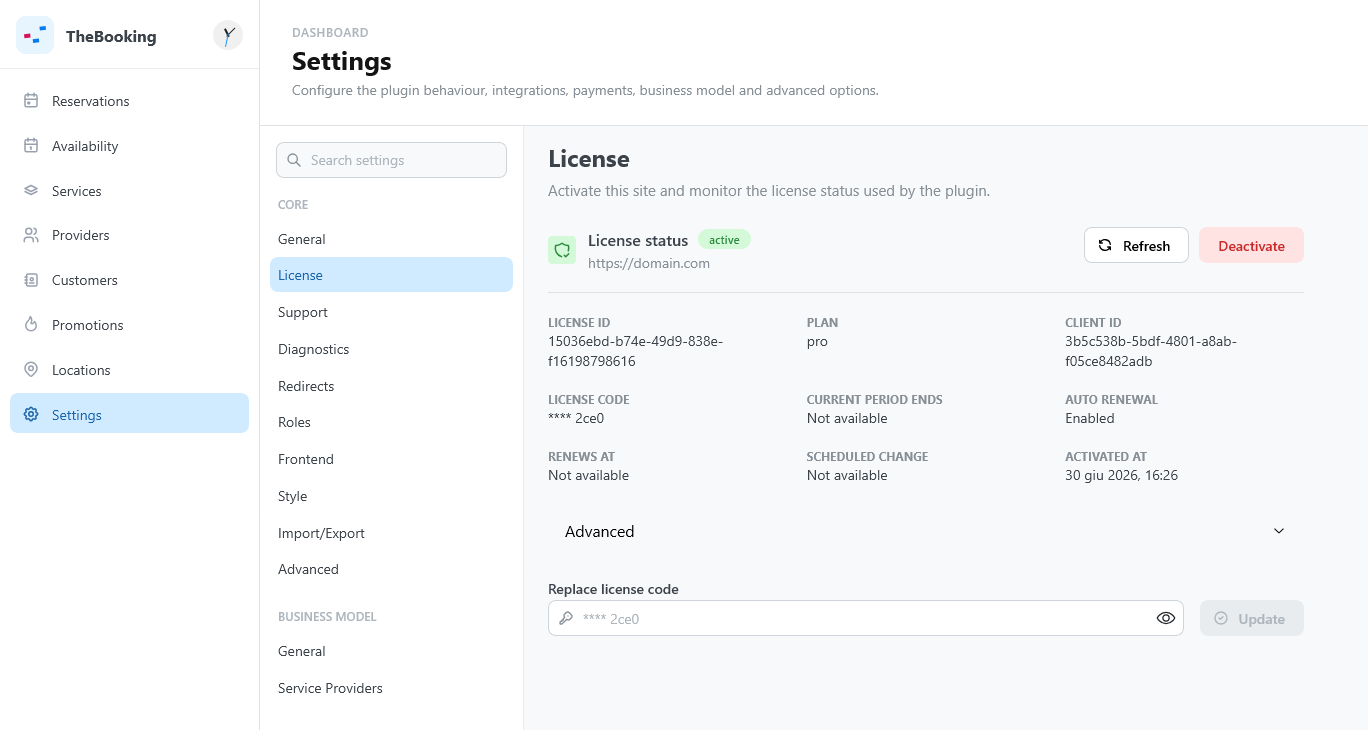
Existing bookings remain in the site if the subscription expires, but updates and connected services require an active subscription.
Prepare the site
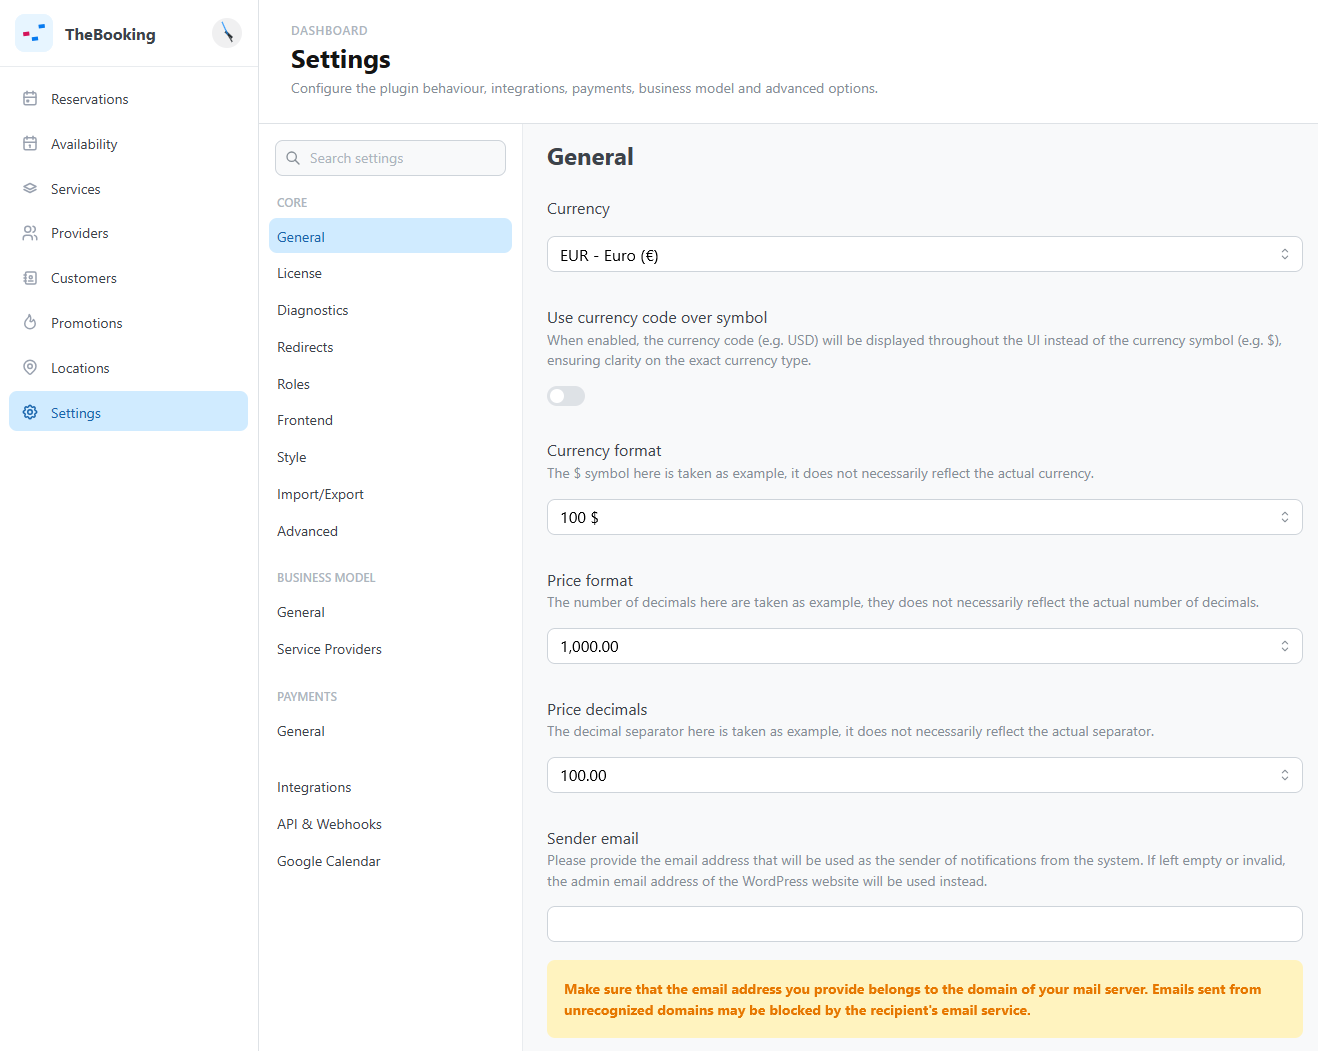
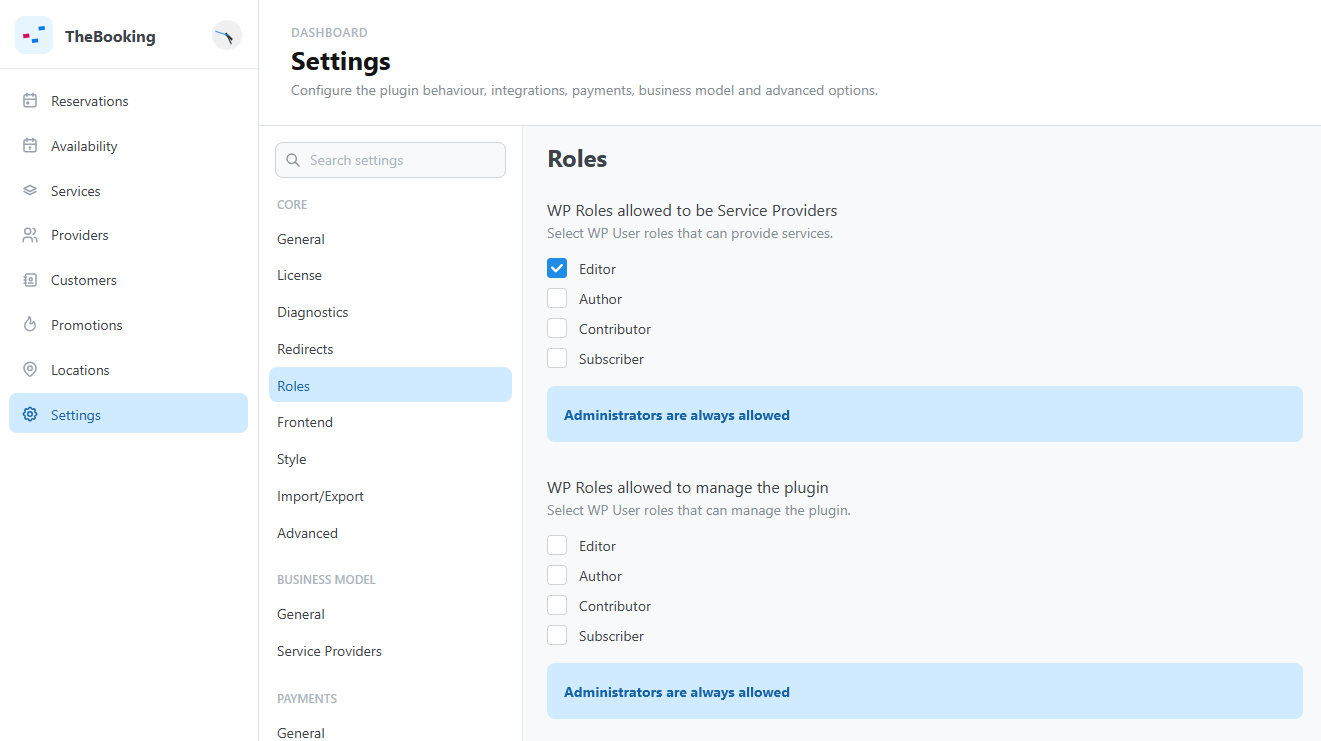
Before creating services, review the basic site settings:
- currency and price format;
- sender email;
- WordPress timezone;
- roles that can manage TheBooking;
- privacy policy content, if the site collects customer data.
Create your first booking flow
- Create a service.
- Create an availability plan.
- Add a booking widget to a WordPress page.
- Make a test reservation.
- Review the customer email and the reservation in the backend.
Publish the page only after the test booking creates the expected reservation, notification, and payment behavior.
Updating an existing site
TheBooking 3.x installations run the included database migrations automatically during update. Take a full file and database backup before updating production.
Versions older than 3.0 are not migrated automatically. See Legacy installations.